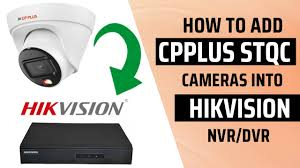
How to add cp plus camera in hikvision nvr
To add a CP Plus camera to a Hikvision NVR, you must use the ONVIF protocol, as they are different brands. Follow these steps to ensure a smooth connection:
1. Initial Camera Setup (CP Plus Side)
Before adding the camera to the NVR, you must configure it using its web interface or the CP Plus Config Tool.
- Activate & Initialize: Set a strong password and ensure the camera is active.
- Enable ONVIF: Log into the camera’s web interface (usually via its IP address). Navigate to Network > Access Platform and ensure ONVIF is enabled.
- Create ONVIF User: In some newer models (like STQC series), you may need to create a specific “ONVIF User” with administrator rights (e.g., username
admin1). - Disable Security Restrictions: For better compatibility, disable HTTPS and RTSP over TLS in the camera’s safety or system service settings.
2. Configure the Hikvision NVR
- Access Camera Management: On your Hikvision NVR, go to Configuration > Camera Management > IP Camera.
- Custom/Manual Add: Click on Custom Adding or Manual Add. Do not use “Quick Add” as it primarily searches for Hikvision devices.
- Enter Details:
- IP Address: Enter the fixed IP address of your CP Plus camera.
- Protocol: Change this from “Hikvision” to ONVIF.
- Management Port: Typically 80 for ONVIF (unless you changed it on the camera).
- Credentials: Enter the ONVIF username and password you created in Step 1.
- Save: Click OK. The status should change to a blue “Play” icon or “Online” after a few seconds.